- Dec 23, 2025
My Basic Bone Broth Recipe
- Matilda
- Recipes
- 0 comments
Bone broth is one of the foundational practices I encourage my clients to build a routine around. It is a true powerhouse of nourishment — rich in minerals such as calcium, phosphorus, magnesium, and potassium, and abundant in amino acids like glycine and glutamine, as well as gelatine and collagen.
These are the very building blocks we want to support our tissues, heal and seal the gut, and provide deep, real hydration to the body.
You may have heard the expression “a hug in a mug” — and that is exactly what a cup of bone broth offers. It soothes, nourishes, and warms us from the inside out.
In Traditional Chinese Medicine, bone broth is considered deeply restorative and grounding. Because bones are connected to the Kidneys, the root of our vitality, bone broth is traditionally used to support Kidney Jing (essence) and strengthen the body at a foundational level.
Bone broth is also said to nourish the Blood and Yin, making it especially supportive during times of depletion, stress, preparing the body for pregnancy, postpartum recovery, or when the body needs extra care and nourishment. By gently nourishing Yin, it helps anchor the mind, calm Shen and support the brain and nervous system.
At the same time, its warming and easily digestible nature helps boost Qi, supporting digestion, immune resilience, and overall vitality. This makes bone broth a beautiful daily practice for restoring balance, warmth, and strength from the inside out.
There are many ways to make bone broth, and you may have come across several methods already. This is simply how I make mine: it is effective, simple, and forgiving. I don’t follow strict timing, but I do choose to make it on a day when I’m at home and can let it gently simmer.
Step 1. Source Your Bones
This is the first — and most important — step. Without bones, there is no bone broth.
Whenever possible, I recommend sourcing bones locally: from a farmer, hunter, neighbour, or someone who knows someone. Often, they are closer than you think.
The specific type of bone is less important, though according to Traditional Chinese Medicine, different animals do have slightly different effects on the body. Start with what is easily accessible to you and a flavour you enjoy. Chicken bones tend to produce a more subtle flavour compared to beef, lamb, or pork.
Step 2. Store Your Bones
While not essential, I highly recommend keeping bones in the freezer. Having frozen bones on hand makes it easy to prepare broth whenever you feel called to make it.
Step 3. How to Cook the Bones
If the bones have already been roasted (for example, from a whole roasted chicken), you can skip this step. Otherwise, you may wish to pre-cook them by boiling or roasting the bones for about 20 minutes. If boiling, discard the water, rinse the bones, and then add fresh water to cover them.
Bring the pot to a boil, then reduce the heat to a gentle simmer.
Step 4. Add the Rest of the Ingredients
This is where the magic happens. While you can add almost anything to your broth, these are the staples I always include:
2 carrots
1 onion
A few garlic cloves
A 5 cm knob of ginger
A small piece of kombu (a wonderful source of iodine and minerals)
1 teaspoon Celtic sea salt or another unrefined salt
1 tablespoon apple cider vinegar
Any leftover vegetables you have in the fridge
Optional additions:
Cinnamon stick, a couple of cloves, and star anise (for extra warmth)
Chinese dates, astragalus, shiitake mushrooms, black mushrooms
Other herbs and spices you enjoy or know support your constitution
Let the broth simmer gently for 6–12 hours, depending on how much time you have.
Step 5. Storing the Broth
Once finished, turn off the heat and allow the broth to cool slightly.
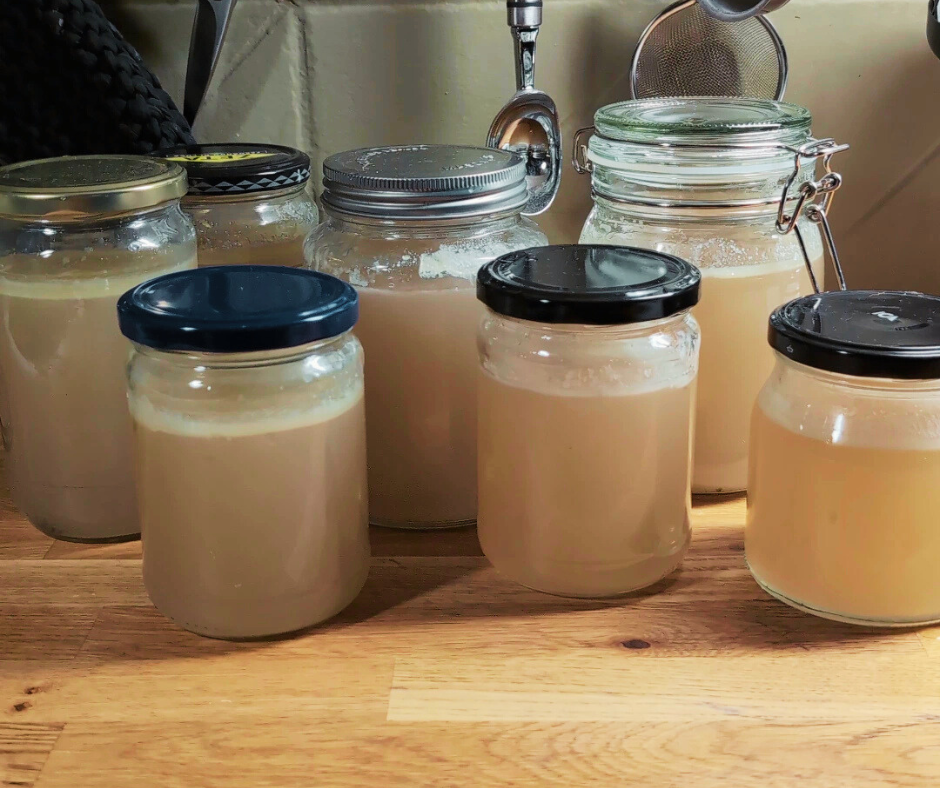
Prepare your storage containers — I use old glass jars and freeze my broth directly in them. I always keep one jar in the fridge, where it will last for about 3–4 days.
Strain the broth into the jars and discard the solids.
Once cooled, you should notice the broth thickening and becoming jelly-like. This is exactly what we want — it indicates a high gelatine content. Your broth is ready.
Step 6. Using the Broth
Now it’s time to enjoy your golden liquid.
You can drink it on its own in a cup, adding a little unpasteurized miso paste or tamari. Use it as a base for soups with noodles, vegetables, and a boiled egg, or add it to stews, rice dishes, soups, pasta dishes — almost anything.
As long as the broth stays in the pot, it’s doing its job.
I would love to hear how you get on with the broth, send me a message and reach out if you have any questions.
xx Matilda